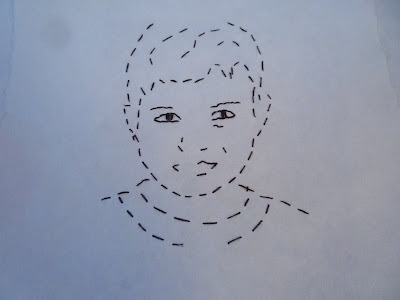
Step One: Make a copy of your photo to avoid destroying the original; if desired, enlarge the image to fit your frame and mat. Affix the copy to watercolor paper (I used a rough, homemade paper) with artist's tape (I used a small piece of Scotch tape).
Step Two: Using a pin to punch holes through the photocopy and paper, outline facial contours, features, hair, and clothing. To create solid lines, punch closer together; for dotted lines, leave more space between holes. I used a piece of cardboard as a bottom layer to protect the table.
Step Three: Remove the photo and use a threaded embroidery needle to sew a running stitch or backstitch along the holes, swapping thinner thread as desired. (I used embroidery floss) Trim the paper to fit your frame and mat.
This is how mine turned out.


Gavin


